Friday, April 22, 2011

She'll make you flip

Yesterday this beautiful pattern came in the mail. I got it from the She'll Make You Flip on etsy, and I am completely besotted with it. That pocket! I don't know exactly what year it's from, but the seller said it was from the 1940s. It is definitely the oldest pattern I've ever used. Some differences between modern patterns:
It uses the phrase "slide fastener" instead of "zipper."

The pattern markings are punched instead of printed. I am a little intimidated, but really it's not that different. The only thing I'm a bit unsure about is whether the seam allowance (which is not the standard 5/8", but 1/2" in most places and 3/4" in others) is included. I'm going to have to look that up. I'm assuming it is because I think you're supposed to do a tissue fitting by pinning the pattern pieces together and seeing how they fit on you.

Another difference is that I'm not going to have to alter it much at the waist. Usually I have to add 3-5 inches at the waist when I use the pattern with my bust size, but this pattern is sized for someone whose waist is only 1/2" less than mine. I found that strange because I think of the silhouette as getting heavier as time went on. (I will have to add at the hips, but only 4 inches instead of 6.)

I'm so excited about making this pattern! Now I just have to decide what to make the first try out of. I want it to be goo enough fabric that I will enjoy wearing it but not super-special fabric that I will be sad to have wasted if it doesn't work out. Here are some candidates from my fabric stash.
There's this combination of stripes and a print in harmonious colors, but that might be too funky. And I'm not sure how stripes would look on top anyway. I might have enough of the print to make the whole dress out of it, but that's definitely not the case with the stripes. Or I could use this light brown very narrow wale corduroy with the lower print as the top. (The second picture is to show the texture, but it didn't come out very well.)
There's this yellow flower print:
And this blue herringbone heavy shirting:
I was going to use that for a shirtwaist dress, but it might look nice in this pattern. Or I could use that for the skirt with a white or subtle print on top. The possibilities are a bit overwhelming.

If and when I get around to this dress, I'll let you know. I hope it looks good.

Wednesday, April 20, 2011

A new skirt and discovering my waist

I made this a couple weekends ago as a muslin for a skirt I'd like to make out of this fabric:
There isn't enough of the bicycle print, so I'm going to patch something together with the purple stuff. Both are remnants. I don't think this pattern is the right skirt for that fabric. I was thinking of something like this skirt Katherine made, but I saw this pattern that used to belong to my mom, and I thought pleats aren't much different from gathers, so why not try that? Well, it turns out that pleats are quite different from gathers, and I think the bicycles would get lost or look like a shopping bag or something. I'm thinking about making my own pattern for that one since I want a pretty simple pleated skirt with a waistband.

I have quite a few of my mom's old patterns. This one is from 1969, and I'm assuming that's when she used it. Old patterns only came in one size, and conveniently, my bust is the same size as my mom's was, so the patterns are always the right size. (Of course, my waist and hips are way bigger than they "should be" for that size, but waist and hip adjustments are easy.) My waist is 4 1/2 inches bigger than the sizing chart on the back of this one, and my hips are 6 inches bigger. I just added 4 1/2 inches to the whole pattern because it's so poofy, so getting the right size on the hips was not necessary. It was very easy to do because both the front and back are on the fold, so I just pinned the pattern a little away from the fold.

Since this was a muslin, I didn't work too hard on finishing details. Also, I can't find my regular zipper foot and I didn't have any invisible zippers in the right length, so I set a zipper without using a zipper foot. I don't recommend this.
I saw a girl on campus wearing a really cute dress with a gold zipper that was completely visible, and I tried to make that happen for this, but it didn't quite work, in part because of the zipper foot issue, and in part because I didn't take that into account when I placed the zipper. I got something halfway in between. But I think it's cute anyway. The waistband is fastened with two snaps, but I'm thinking about sewing a decorative yellow button on top. I've also been thinking a lot about adding words to clothing. T-shirts usually have slogans, but I'm thinking more along the lines of poetry, Bible verses, maxims to live by, etc. I might be decorating this with a favorite poem written around the hemline. The issue is that my handwriting isn't that good, and I'm worried about being too pretentious. But I think customizing clothing with favorite words would be a nice way to make my creations more personal, and that's one of my long-term sewing goals. Also, if I made this again, I would add a pocket on the non-zipper side. A skirt this roomy could accommodate a pocket with no trouble, and I find pockets very convenient.

This skirt is way out of my comfort zone. I grew up at a time when wearing things at the natural waist was not fashionable at all. (I know because my jeans came up to my waist, and I felt like a total loser. I can't say for certain whether those are related, but I think the cool kids had hip-huggers.) I have taken that aesthetic into my adulthood, but it seems like clothing that emphasizes the waist is getting popular again, so I decided to give it a try. I definitely feel like this is hugging my armpits, but I think it works. I don't think I want a lot of skirts that are this poofy around the hips, but I'm glad I have this one to play around with. I have been going through my closet and discovering that a lot of the skirts I have but don't feel beautiful in are greatly improved by taking in the waist and wearing them higher on my waist. Often, that makes them hit at a better length and emphasize my hourglassy bottom half. (I prefer "hourglassy" to "pear-shaped.") I have also been discovering belting. I have very few belts, but look what a difference it makes to the jet lag dress:
I think this outfit would be even cuter with a narrow orange or orangey-brown leather belt. But I'm working with what I've got. I was so amazed at how much better I thought this made the dress look that I was immediately sold on the idea of belting. Anyway, that's my big revelation: I have a waist. It is narrow and womanly. I feel beautiful when I dress in a way that emphasizes that.

Sunday, April 10, 2011

Two old shirts

I don't remember when I made these. The date on the pattern is 2000, so it was probably around then. Maybe the summer between my junior and senior years of high school? I really liked the wrap look on the back on view A of Simplicity 9269, so I made it up in this cute lily pad print.
Frustratingly, even though I cut out the sizes that should have worked at bust and waist, it was way too big. (This is when I learned that some patterns are better than others, and some are downright wrong.) I took in the side seams by about 5/8 of an inch each (that means the pattern that was supposed to fit me was actually 2 1/2 inches too big-a pretty big difference).
It was still a big too big, particularly in the bust, but part of the problem was that the neck was too wide, and there's not much I could do to fix that. The boatneck is not a very flattering shape on me anyway. I have worn the top a few times, but it's never been one of my most-loved garments. Of course, it's also a pretty crazy fabric pattern, so I wouldn't be able to wear it much, even if I loved it. I still liked the criss-cross, though, so I wondered if I could highlight that more by pulling it to the front. So I decided to play with it. I folded out the darts in the pattern (I'm so small-chested that losing them didn't matter much), cut a couple sizes smaller, and wore it backwards. For some reason, even though the criss-cross is symmetrical on the lily pad fabric, it's asymmetrical on this blue fabric (the bottom of the V-neck is on my right side), but I actually like it better that way.
This iteration didn't work perfectly, either. I think the shoulders are just too far apart, even in a size smaller than I should be wearing; if I ever try it again, I'll have to take a little bit out of the middle to correct for that. Also, the armholes are a little too tight. I also only wear this rarely, but that's because it shows my navel. I don't think it's appropriate to go to school or church with my navel showing, but yesterday I was going to the Art Car Museum for an artist lecture in the afternoon, and I thought it would be OK for my tummy to show a little.
I am glad that I've stayed the same-ish enough size that I can still wear these shirts, and I'm also glad that 17-year-old me was creative with the pattern. I had fun (and felt cute and a little saucy) wearing this yesterday.

Thursday, March 3, 2011

Our anniversary and ties

As I mentioned yesterday, it was our 1st wedding anniversary! We got dressed up and went to a great new restaurant, iNG. We really loved the konbu, which had strips of seaweed acting like noodles in a spicy broth with tofu, a poached egg, and this amazing crispy kale on top. It was so good! Anyway, we dressed like this.
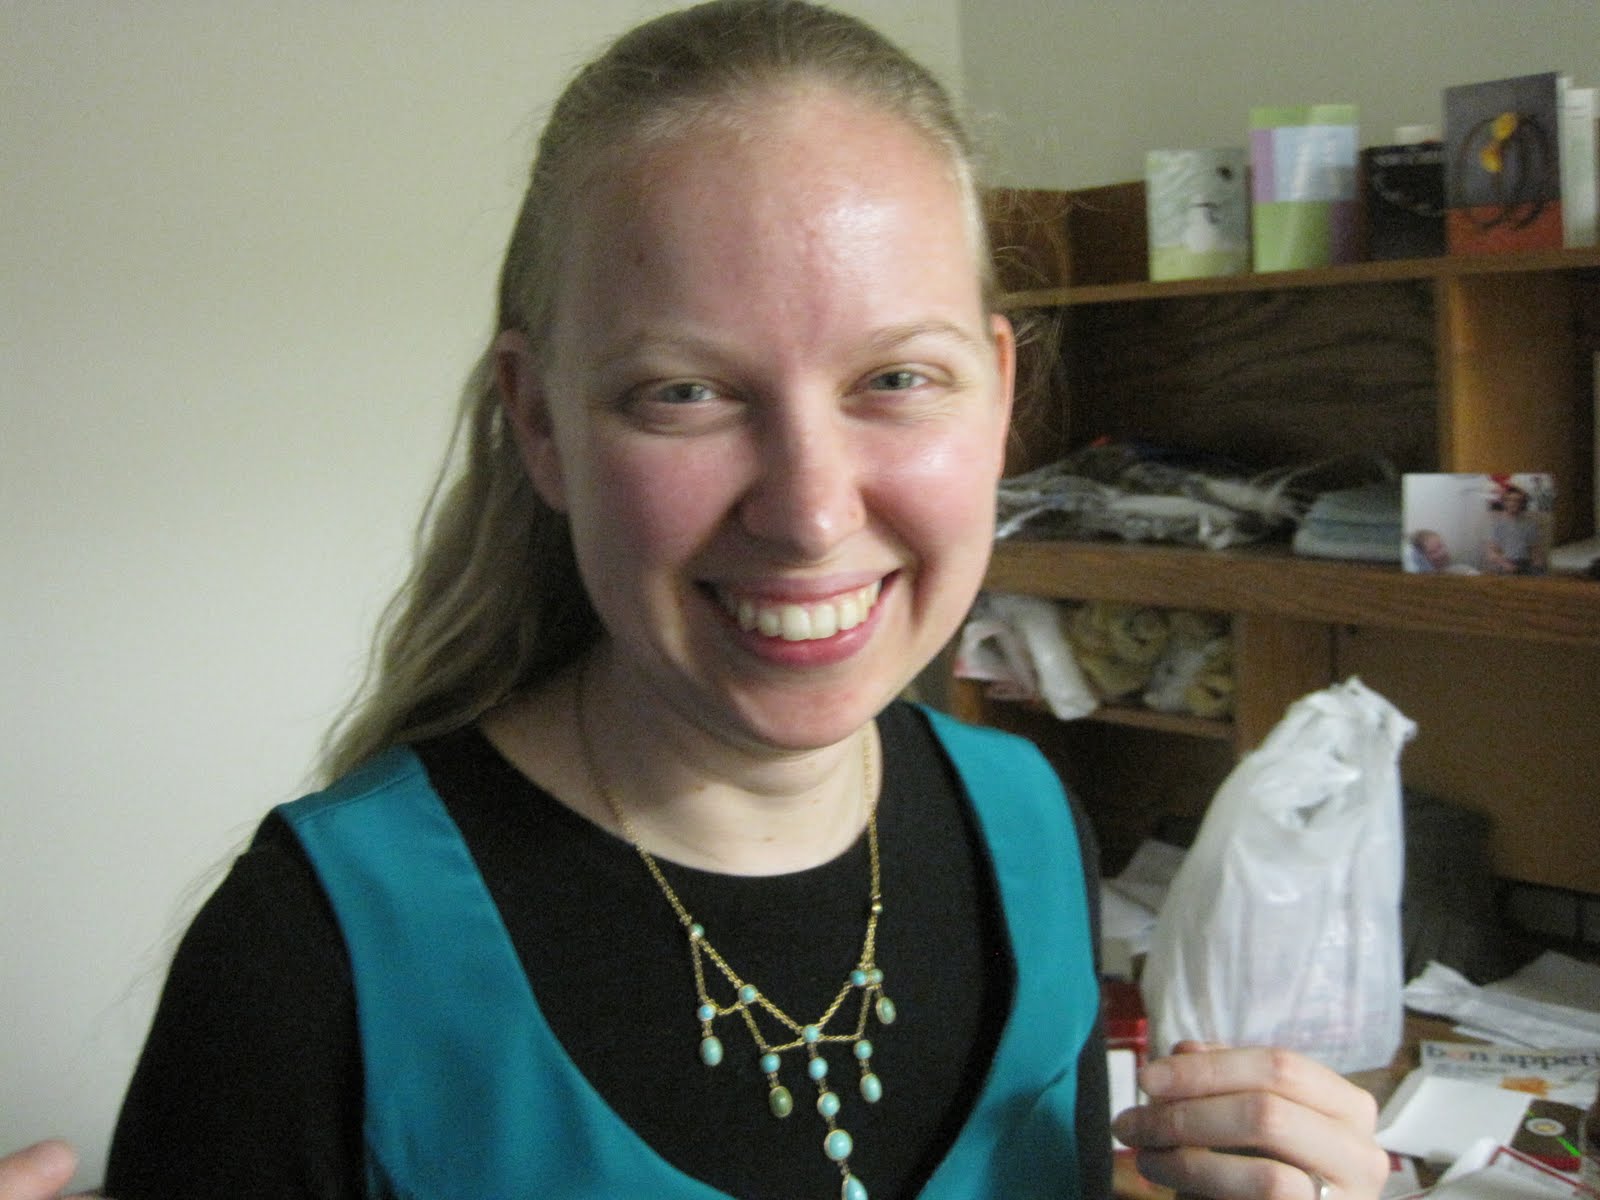
I had a lot of fun remixing my wedding dress. I put on black leggings, a black long-sleeved t-shirt, and a black knit skirt under the dress. I kept the same jewelry, a gold and turquoise necklace my aunt gave me before my wedding, and tied Jon's tie from last year around my waist. Maybe my outfit was ridiculous, but I felt fun and beautiful, and Jon liked it too. Jon wore almost the exact same thing he did for our wedding, except it was a new tie. Last year, our friend Aru tied Jon's tie for us because neither of us knows how. This year, we were Aru-less, so we had to figure it out for ourselves. I found a website, with some diagrams, and after both of us spent a while on it, we ended up with a pretty decent Windsor knot.
I should note that Jon did it in the end. Also, a question: how do you know how long the short end should be when you start? That was my Kryptonite.
We were finally done getting dressed and took the train downtown to get to the restaurant. Jon looked so handsome. After dinner, we came home, and I kept playing with Jon's tie. I'm getting pretty decent at tying it. And I like the tie look, both as a belt and as a tie for me on a shirt without a collar. I think it's fun. I might start incorporating it into my wardrobe. Here's me trying to look saucy with a tie.
We had a great first anniversary!

Now is the part of the post where I talk about making ties.
I don't have much experience with bias-cut garments, and I think maybe I should have more experience before I try something silk cut on the bias again. (Cut on the bias means the main line of a garment is at a 45 degree angle to the grainline of the fabric.) When you cut on the bias, the fabric naturally tends to get longer and narrower. This happened to me with the first tie I made, and I ended up cutting the fabric shorter after I had already cut the pattern out. I thought I had just been careless, so I was extremely careful on the second tie, and the fabric still got longer and narrower. This meant that the interfacing, didn't quite fit in right when all was said and done, although this time was better than last time. The length was also a problem. The tie was just too darn long, and there's really nothing to do about that. In part, Jon might just need a shorter-than-average tie because he's a shorter-than-average man, but part of it was all the bias stretching. We were saved from looking like Jon was wearing his dad's tie by the narrowness.

What I wonder is whether it would make sense to stabilize or interface the silk before sewing. I must admit that I pretty much failed at interfacing on this tie. I can't seem to get interfacing to stay on silk. I think I need to use a higher setting on the iron along with a lot of water and a pressing cloth, but it always tricks me into thinking I have it on there and then falls off later. Anyway, I know there is liquid stabilizer that is water-soluble, and that might prevent the silk from stretching while I'm working with it but then wear away without much trouble. The pattern didn't mention using a stabilizer, but I think I am going to try that. I am also going to try working with some un-fussy cotton too. I think jumping right into gauzy silk was probably a mistake.
The ties I made are very special to us for sentimental reasons, but they are far from perfect. Here are some shots of the underside of the ties.
The two ties together and a close-up of the twist in the first tie.
The undersides of the ties. Not too classy, I'm afraid.

I have this silly notion that it would be really cool to make a matching tie for Jon whenever I make myself a dress. Or at least for some dresses. Then we can wear our matching outfits. I feel like doing this honors the occasion even more than just wearing nice clothing does. I have some nice batik from Singapore that I think would be good for both a sheath dress and a tie, and I am making a navy-and-white polka dot dress for a wedding this May. I might have some extra navy satin or navy/white polka dot cotton for a tie for Jon if I have the time. I will keep experimenting with ties, and maybe I can act on this silly notion.

Wednesday, March 2, 2011

Craft Day Projects

My friend Katherine had a craft day for her birthday last weekend. I finished two UFOs and started and finished another project. When I got home that night, I also made one more quick project. I felt like a very productive crafter.

Project 1: I finished the pouch for this tote I made for a friend. It's the same tote/pouch pattern as this one I made for Carolyn.

Project 2: A small repair job on my choir director's choir robe. I didn't take a picture.

Project 3: A replacement tie for Jon. Last year I made him a tie in the same fabric as my wedding dress so we would match on our wedding day. He looked so handsome in it, and we really enjoyed matching. ("We" may only refer to me.)
But the dirty little secret was that the tie had imperfections that we hid under the collar. In mathematical language, I was unable to make a continuous choice of local orientation for the tie. In non-mathematical language, the seam that should have been the back seam drifted and twisted around to the front, despite all my efforts to press it to the back. Since I still had material leftover from the dress and tie, I decided to try again. The new one is not perfect, but it is orientable. I might post more about my tie-making experiences later. The short version is that working with silk cut on the bias is hard, and I'm clearly doing something wrong. But for now, here's a picture of me with both ties. The longer one is the new one.
Our anniversary is today, and we are dressing up in our wedding clothes and going out for a fancy dinner. We aren't wearing the exact same outfits because it's cold in Chicago. I'm layering my dress over black leggings, a black shirt, and a black knit skirt, and I'm using the non-orientable tie as a belt. I think it will be really cute.

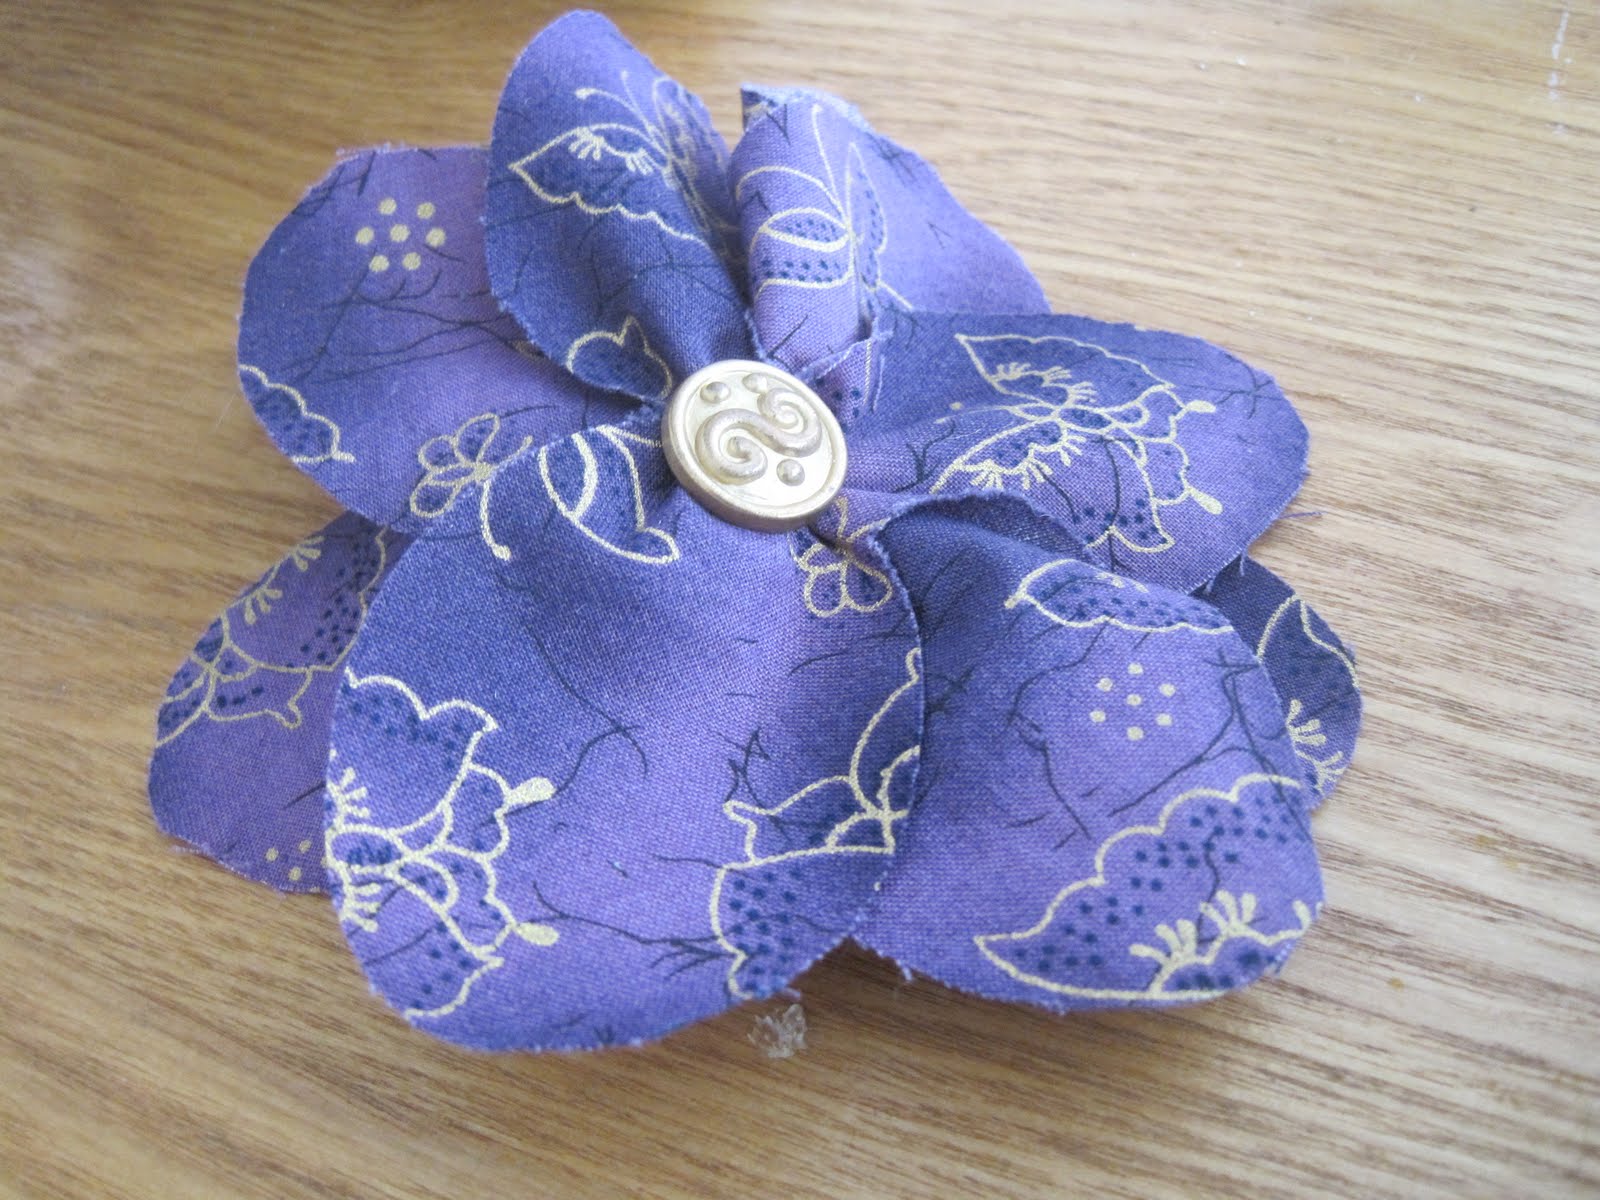
Project 4: A replacement for the pin I accidentally washed.
I used a square cream-colored button instead of the gold one for the center. This was because I had two square cream buttons, and I thought one of my friends would like a matching pin. She got it last week and claims to love it.

I've made one modification to how I make this type of pin when I have a button with a post-type hole on the back rather than multiple holes on the flat part of the button. (I'm unfamiliar with button nomenclature, so I don't know if there's a term for that. What I mean is like the button below.) The instructions call for hand-sewing a circle in the middle of the flower and gathering that (shown in the last two pictures below), then sewing the button on. I have started sewing the button on before gathering. The post makes it long enough that it is still on top when gathering, but I don't have to try to figure out how to sew it onto gathered fabric. Unfortunately, I forgot partway through that I was going to write about it, so I have no more pictures. Oops.

Thursday, February 17, 2011

Another flower pin

I made this for a friend. I really need to get over to the post office to send it to her. The main reason I'm posting about it is that I think it's really interesting how different the color looks depending on whether there's white in the frame. I guess I have always had a vague notion that cameras automatically adjust color tone based on neutrals in the picture, but I had never seen it in action like this. I watched the display color shift as I moved the salt shaker in and out of the frame. It was pretty fun, actually. Anyway, the color on the right is the more accurate one. I used a fun button from my mom's stash for the center, and I sewed it to the pin before gathering the center circle, which seems to work pretty well for buttons that have a hole on the back instead of multiple holes through the whole button.


Monday, February 14, 2011

Flower pin advice

Unfortunately, the flower pin is not robust to the abuses of the washer and dryer.
I couldn't find it for about a week, so I was a little relieved when it turned up in the last load of laundry but also sad because it didn't fare so well. The flower pin is dead, but since I have more of the same fabric, long live the flower pin I will make when I get a chance.

Speaking of which, I haven't had a chance to sew in a while. I have started a project for a friend who responded when I posted one of those chain "give something homemade to the first five commenters" things. I'll post that once it gets finished. Right now I feel like my time is sucked away by grading, trips to Chicago, and of course writing my thesis. Crafts have rightfully taken a back seat. But I did get a subscription to Threads magazine and was thrilled with the first issue. Good sewists and designers have amazing geometric imaginations. I am still reeling from the mind-blowing article about how to make a patch pocket without topstitching. I'm not kidding. It's really cool. I might have some more posts about math and sewing if I ever make it out of thesis purgatory.