


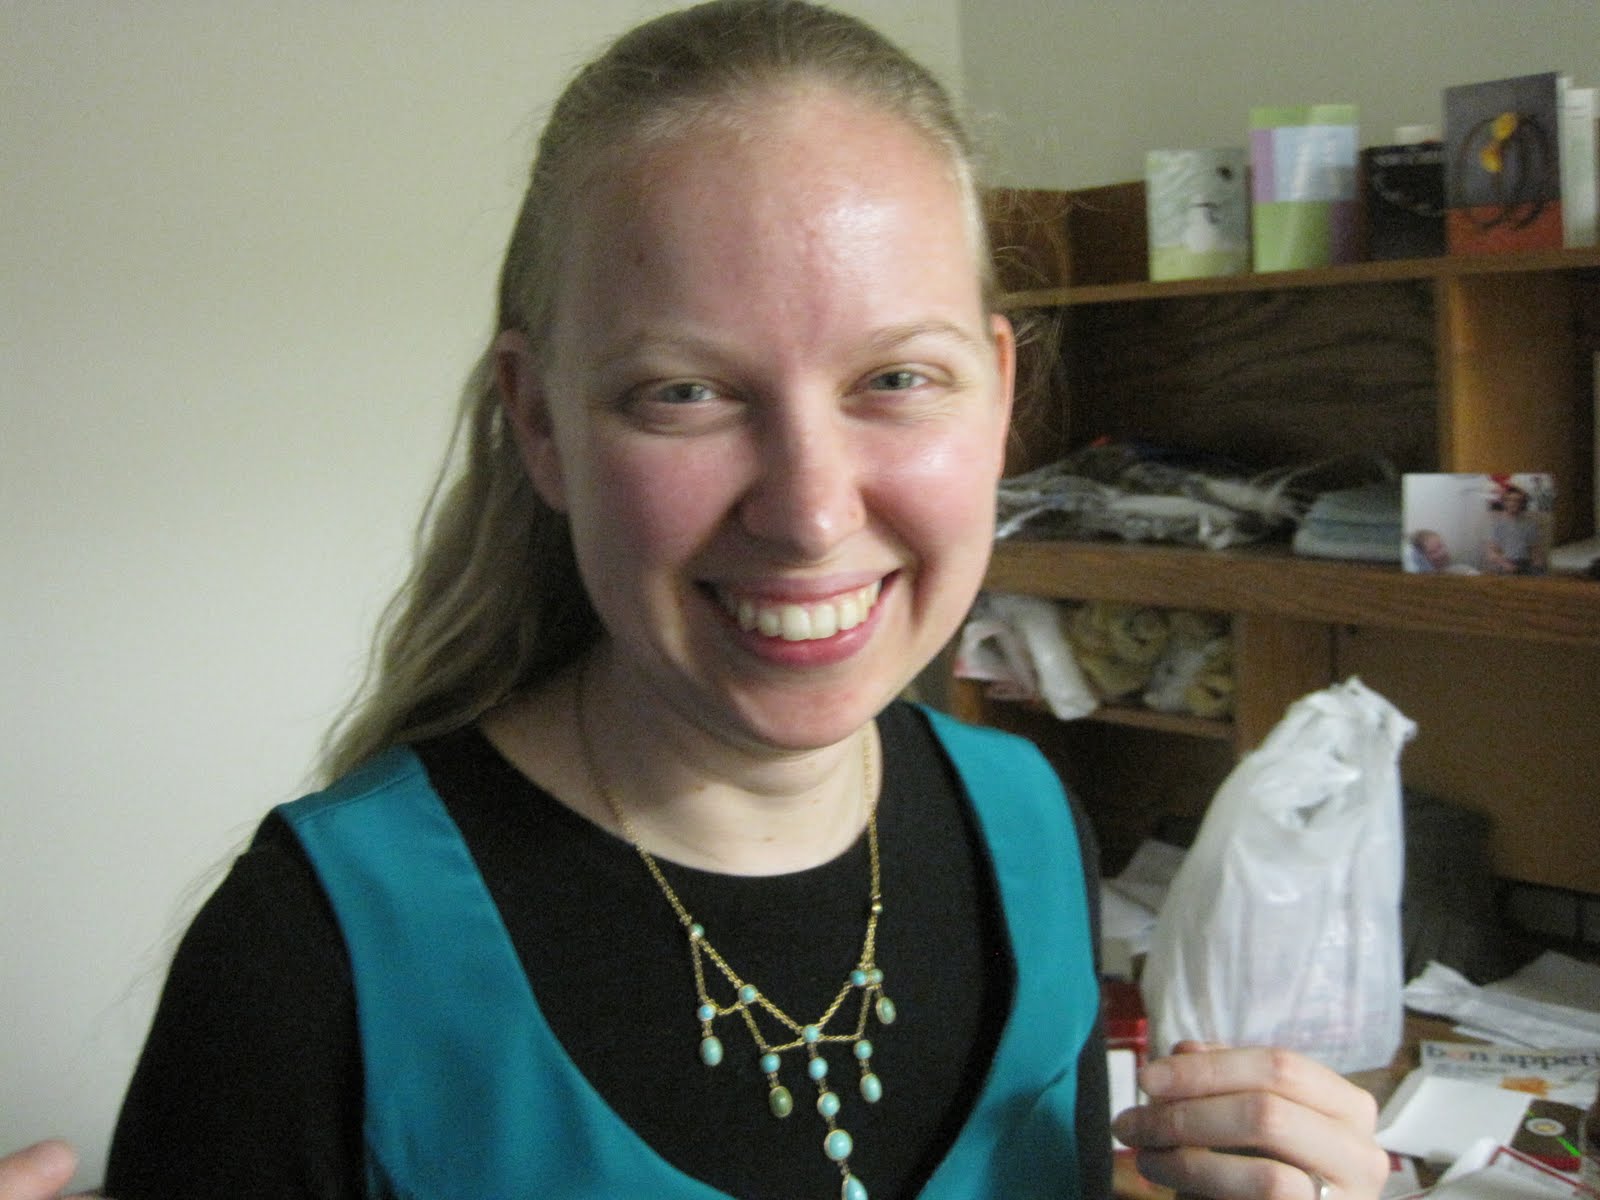
I had a lot of fun remixing my wedding dress. I put on black leggings, a black long-sleeved t-shirt, and a black knit skirt under the dress. I kept the same jewelry, a gold and turquoise necklace my aunt gave me before my wedding, and tied Jon's tie from last year around my waist. Maybe my outfit was ridiculous, but I felt fun and beautiful, and Jon liked it too. Jon wore almost the exact same thing he did for our wedding, except it was a new tie. Last year, our friend Aru tied Jon's tie for us because neither of us knows how. This year, we were Aru-less, so we had to figure it out for ourselves. I found a website, with some diagrams, and after both of us spent a while on it, we ended up with a pretty decent Windsor knot.


I should note that Jon did it in the end. Also, a question: how do you know how long the short end should be when you start? That was my Kryptonite.

We were finally done getting dressed and took the train downtown to get to the restaurant. Jon looked so handsome. After dinner, we came home, and I kept playing with Jon's tie. I'm getting pretty decent at tying it. And I like the tie look, both as a belt and as a tie for me on a shirt without a collar. I think it's fun. I might start incorporating it into my wardrobe. Here's me trying to look saucy with a tie.

We had a great first anniversary!
Now is the part of the post where I talk about making ties.
I don't have much experience with bias-cut garments, and I think maybe I should have more experience before I try something silk cut on the bias again. (Cut on the bias means the main line of a garment is at a 45 degree angle to the grainline of the fabric.) When you cut on the bias, the fabric naturally tends to get longer and narrower. This happened to me with the first tie I made, and I ended up cutting the fabric shorter after I had already cut the pattern out. I thought I had just been careless, so I was extremely careful on the second tie, and the fabric still got longer and narrower. This meant that the interfacing, didn't quite fit in right when all was said and done, although this time was better than last time. The length was also a problem. The tie was just too darn long, and there's really nothing to do about that. In part, Jon might just need a shorter-than-average tie because he's a shorter-than-average man, but part of it was all the bias stretching. We were saved from looking like Jon was wearing his dad's tie by the narrowness.
What I wonder is whether it would make sense to stabilize or interface the silk before sewing. I must admit that I pretty much failed at interfacing on this tie. I can't seem to get interfacing to stay on silk. I think I need to use a higher setting on the iron along with a lot of water and a pressing cloth, but it always tricks me into thinking I have it on there and then falls off later. Anyway, I know there is liquid stabilizer that is water-soluble, and that might prevent the silk from stretching while I'm working with it but then wear away without much trouble. The pattern didn't mention using a stabilizer, but I think I am going to try that. I am also going to try working with some un-fussy cotton too. I think jumping right into gauzy silk was probably a mistake.
The ties I made are very special to us for sentimental reasons, but they are far from perfect. Here are some shots of the underside of the ties.


The two ties together and a close-up of the twist in the first tie.


The undersides of the ties. Not too classy, I'm afraid.
I have this silly notion that it would be really cool to make a matching tie for Jon whenever I make myself a dress. Or at least for some dresses. Then we can wear our matching outfits. I feel like doing this honors the occasion even more than just wearing nice clothing does. I have some nice batik from Singapore that I think would be good for both a sheath dress and a tie, and I am making a navy-and-white polka dot dress for a wedding this May. I might have some extra navy satin or navy/white polka dot cotton for a tie for Jon if I have the time. I will keep experimenting with ties, and maybe I can act on this silly notion.


