Thursday, October 25, 2012

64th anniversary tablecloth II: practice


And now, the exciting conclusion of the tablecloth saga!

I should just say that this project was harder than I thought it would be. In theory, there's no difference between theory and practice. But in practice, there is. One lesson I learned was that the lumps and bumps of the human body are a lot more forgiving than a flat tabletop. Who knew?

My grandparents' anniversary was September 5, the day before my birthday. (I was a 35th anniversary present, a day late.) It's not really fall weather in Dallas, but my grandmother likes fall colors, and their house color scheme is fall-ish, so I went with some orange eyelet I had lying around and brown and cream polyester for the tablecloth. After some sketching, I decided that the color scheme, working in from the largest square, should be orange-white-brown-white-orange-white-brown-white.

When I left off the last post, I had just started cutting the fabric. I was a little worried about having enough of brown and orange, so I figured out a super clever strategy: the smaller squares covered up a lot of the larger ones, so I poached fabric from the larger squares to make the smaller ones of the same color. For the white ones, I cut the two larger squares out separately and then cut the 3rd largest out of the fourth largest.

I also figured out a super-clever way to cut a small square out of the center of a large square: fold the large square in half to get a double-layer isosceles right triangle. Then fold again to get a four-layer isosceles right triangle. Then, keeping measuring tape parallel with side of outer square, move it in until you hit the side length of the small square. (In the schematic on the left, I start with the full square and fold it up into the small triangle. The dotted line in the last triangle is the side of the smallest square.)

Unfortunately, I once again underestimated the difference between theory and practice. It's very hard to get all the layers perfectly flat, and some of the squares I ended up cutting out weren't very square. The large orange one worked out OK, but I had to re-cut some others out of the remaining fabric, which didn't end up being an issue. Oh well, it was a nice idea.

I also messed up the largest white square. I don't know how, but it ended up with sides that were two inches too small. I didn't have a square of fabric large enough any more, so I ended up cutting out four right triangles, the only part visible in each layer, instead of one square.
This is the orange piece with a square cut out of the middle. That white layer is the one I had to make by cutting out triangles instead of a square because I miscalculated the first time.

The construction was pretty straightforward. I started from the innermost square and worked my way out. Instead of doing some sort of turn-under on the sides of each square, I topstitched using a wide but short (many stitches per inch) zigzag stitch. A wide, short zigzag stitch can cover a multitude of sins! I was nervous about the (lack of) square-ness of the squares, and the wide stitch gave me enough wiggle room to make less than straight sides look straight. (If you'll recall from the last post, I had computed the side lengths to the nearest thousandth, and here I was using a quarter-inch wide zigzag stitch-ha!) For each layer, I chose the color that was not represented by the two adjoining squares.

I had some trouble getting the fabric to lie flat. I had to pin a lot more densely than usual, and I also basted the layers. (I'm lazy, and I don't usually baste when I'm sewing.) In the end, I didn't completely get it to lie flat, but it was pretty good.

I went to Dallas for a week in September to be with my mom when she had surgery, so I decided to deliver the tablecloth in person then. Of course, I procrastinated and was trying to finish it the night before I left. Of course, I ran out of orange thread because the zigzags were so thread-intensive, so I had to run to the fabric store the next morning to pick up more. I had time to finish all the zigzags, but I didn't have a chance to do some of the finishing.

The upside to my procrastination was that I got to use my mom's beautiful 1950s-era Singer sewing machine to finish it off. (We think it belonged to a grandmother/great-grandmother/great-aunt, but Mom can't remember exactly how it got passed down to her.) Before I had a machine of my own, I used this one, and now that I am more experienced, I have a better appreciation for what a great machine it is. I had to get her to help me remember how to thread it and insert the bobbin, but once I had it all set up, it was a dream. I don't know how to describe it exactly. It's just a smooth ride. Is there a certain car that's supposed to have a really smooth ride? A Porsche or something? I've never driven a Porsche (or whatever the canonical smooth ride car is), but if I had, I would compare using this machine to driving a Porsche. I love my machine, and it can do zigzags and buttonholes better than Mom's, which requires special attachments, but I wouldn't mind having a machine like hers for straight stitching someday.

Since I had a big hole in the back of the piece from my weird inner square cutting, I used a big piece of leftover white fabric to make a backing for the piece. Here it is before I covered the hole. (I didn't take a picture after. Oops.)

My mom sent me some pictures of the finished tablecloth on my grandparents' table, one of which is posted at the top of this post. I hope they like it. I love and admire them so much, and I hope that our marriage can be as long and as loving as theirs. I often have trouble finding good gifts for them, so I was glad to get to make them something special and creative.

Jon LOVES the design. He's supportive about my sewing, but he's not usually very effusive, and he doesn't often bring a design up later. I might be able to make a present for him along these lines, although I'll probably go smaller/fewer layers. Wrangling eight was a bit overwhelming.

Sunday, October 21, 2012

64th anniversary tablecloth I: theory

In my last post (two months ago!), I asked for ideas for a tablecloth that would feature 8 squares for my grandparents' 64th (8 sqared-th) anniversary. A twitter friend pointed me to Wooly Thoughts, a site with the tag line "in pursuit of crafty mathematics," and I ended up really liking this design. My version has 8 squares in it, of course. I used more math than I'm usually aware of using when I sew, and it was really fun. In this post, I'll talk about some of the math I used. In the next post, I'll talk about the actual construction of the tablecloth.

The mathematics behind the square pattern is a curve of pursuit, at least as I understand it. I haven't done the computations myself, but I think that the "spiral" (it's piecewise straight, but the mind easily makes it into a curved spiral) traced out by the corners of the squares represents the path four dogs (or mice) would take if they were all mutually chasing each other at constant speed. Pretty cool, huh? The way I thought of constructing it was just rotating a smaller square until its corners hit the sides of the next larger square.

I decided that I wanted a constant ratio of sizes of squares, and I thought that it would be cool if the innermost square were parallel with the outermost. I did a simple high school geometry proof to make sure that the angle of successive squares was additive.

The left picture is a schematic of a few of the squares. The right is a blow-up of the way the angles in question are situated. The variable x represents the amount of rotation at each layer. The variable y represents the total rotation after two layers. I used the fact that the sum of angles of a Euclidean triangle is 180 degrees and that vertical angles are congruent to conclude that y=2x, which means that rotation is additive. (OK, technically I showed that the rotation would be additive if the rotation is by the same amount each time, but if x were replaced with z for a different amount of rotation, we would find that y=x+z.)

There might be an easier way to see that rotation would be additive in this case. It's obvious that it is additive if the vertices of both angles x are in the same place, so if the squares all had a corner in common. But I was worried that maybe something weird would happen when you slid the second angle along the side of the first triangle. This proof told me that nothing weird would happen. I have learned that my intuition is often wrong in math, so it was nice to have a proof so I knew for sure.

Since 13x7=91, which is close to 90, I decided that each square should be rotated by about 13 degrees to get the sides of the last square to be parallel with the first. I wanted the tablecloth to have a diagonal length of 60 inches because my vision was for it to be rotated and put on their table diagonally, and based on their table size, I thought 60 inches was a good length.

I couldn't actually find our calculator. (Update: I found it recently when I accidentally knocked it off the back of the work desk. But the batteries are dead anyway.) Instead, I used the google as a calculator to figure out what the side length of the largest square should be to give diagonal length 60. (Answer: 60/sqrt(2), about 42.4 inches, conveniently about the same as the width of the orange fabric I was using.)
 Then I set up an equation to figure out the ratio between successive square side lengths. In the picture to the left, I assume the total side length of the largest square is 1 and figure out where the second square touches the first using the equation I wrote at the bottom. To figure out the side length of the smaller square, I used the Pythagorean theorem with the x and 1-x to get the hypotenuse of that triangle, which is the side length of the second square. After getting a decimal approximation of that side length, I computed all the square side lengths to three significant figures. That should have been my first clue that I was greatly underestimating the difference between theory and practice: my tape measure goes down to 16ths of an inch, and my cutting is considerably less accurate than my tape measure.

Here is a sketch of my plan on poster board.

Even with the relatively good precision of pencil and paper, the innermost square didn't line up very well with the outermost square. But it looked cool anyway.

Unfettered by banal practicalities such as the realistic amount of precision I could hope for when cutting the fabric, I double-checked my numbers and went off to cut the fabric.

Tune in tomorrow (or whenever I get around to posting again) to read about the differences between theory and practice that I encountered during this project! (Compelling cliffhanger, or most compelling cliffhanger?)

Sunday, August 19, 2012

Brainstorming

My grandparents' 64th wedding anniversary is coming up in early September. It's the day before my birthday, so it's easy to remember. 64 is 8 squared, so I'm trying to think of a sewing project I could make for them that would feature eight squares. I'm not a quilter, so I don't want to try a quilt or bedspread, and I'm not a proficient enough crocheter to make a big crochet project.
Here are some of my ideas:
A tablecloth that would have a design with rows of 3, 2, and 3 squares. (So each of the squares in the 2 square row would have side length 1.5 times those in the 3 square rows.) I think that would be more visually interesting than 4 rows of 2.
Related: A table runner made of eight squares.
Eight napkins or placemats (napkins are more prone to being square, so if I made placemats, they might be mistaken for napkins).

Any other ideas for something interesting with eight squares?

Saturday, August 18, 2012

Bag fix

After writing that last post, it got stuck in my mind that my friend is bringing new life into this world, and I was going to give her a sub-optimal bag because I was too lazy to take half an hour to correct a mistake. That seemed pathetic, so I fixed it. I like it a lot better now. I think she'll like it too.

My First Friday Night Sew In


My friend Katherine has been participating in the Friday Night Sew In (hosted this month by Crafty Vegas Mom) for a while, but it always seems to be on a Friday I have other plans. This month, I was finally able to do it. It was great because I just got back from my summer fellowship at Scientific American (link goes to a fun blog post that I wrote) in New York. I didn't take my sewing with me there, so it was a great way to jump back in.

This was supposed to be a birthday gift for one of my friends last year. We met at Baylor University, and that is the Baylor logo. Well, her birthday was in November, so then it was going to be a Christmas gift. As you can see, it is now August. But today is her baby shower (sadly, I can't be there), so it's now a baby shower gift. I'm also going to get her some reusable diapers to put in it. Last night I got this far. The bag has been sewed up and turned right-side out, but the straps weren't done yet.

And today I finished it up. It's the same tote bag pattern I've used several times, once again made to be nominally reversible. (I say nominally because the logo is backwards on the inside, so it's unlikely someone would actually reverse it.) It has a little carrying pouch that you can kind of see in the top picture hanging off the right side of the bag.
The slightly tricky part was the logo. I printed out a copy of the Baylor logo and used that as a stencil. I cut out the large outlines of the B and U. Then I pinned an extra piece of yellow fabric to the cutout (the yellow fabric is only bright yellow on one side, so I couldn't just use the lining as the part that would show through). I sewed the bag up as normal, and after turning, I outlined the letters in a zigzag stitch. Then I cut out two green pieces to be the holes of the B. I would have left it, but it kind of looked like BJ, and I didn't want my friend walking around with a baby and a bj bag. To make the part of the U behind the B, I just kind of freehand cut out the top from one of the green pieces I was sewing in. It ended up looking pretty good, if I do say so myself.

Next time, I would probably hook the straps up differently. This is the way the pattern has me do it, but the logo would be less distorted, and the bag would probably lie flatter against the body when in use, if the straps were hooked front-to-front and back-to-back rather than front-back, front-back, if that makes sense. Part of me wants to redo it, but it's kind of a pain to take all the stitching out.

My sewing machine was being kind of weird. I can't figure out what the problem is. My lines of stitching are looking fine on the front, but a lot of them look like this on the back:
A mix of regular stitching and then some waviness. I have played with the tension, speed of stitching, pulling the material more and less, and I can't quite figure out how to fix it. It's not as bad with more layers of fabric, I think, and shorter stitch size seems better, although it might just be harder to see. I might need to take my machine in for servicing. Anyone know what might cause this type of pattern? It's somewhat regular, but not entirely.

Yay for FNSI! I am going to try to set aside an evening a week at least to work on sewing. It was a manageable chunk of time that didn't make me feel like I had to get to any particular endpoint. The nice dinner and wine we had before I started didn't hurt, either.

Wednesday, May 16, 2012

Refashioned wrap skirt

 
This is another project from the refashioning stack in the sewing room. I picked up this skirt from a garage sale or thrift store or something ages ago because I liked the fabric (nice drapey rayon) and print, but it has always been too large. It had an elastic waistband in the back and buttons down the front. It kind of  stayed up on my hips when I first got it, but the elastic stretched over time to the point that it was just falling off.

I was going to make some front and back darts to shrink the waistband to the appropriate size, and I decided to take the elastic out of the back waistband to keep the darts smooth. After removing the elastic, I ironed in some interfacing to stabilize and stiffen the waistband a little.
When I was trying on the skirt to see how much material I needed to remove to get the waist the right size, I realized that it might work as a wrap skirt. There was about an eight inch overlap at the front. I really liked the way it looked, so I decided to go with that. I chose to put the side with the buttonholes under and the side with the buttons over, so there's a nice column of buttons going down the left front of the skirt. In the end, after I had placed all the buttons and snaps, the waistband seemed to have relaxed a little more, so I added two small pleats in the back of the skirt to get it the right size again.
 
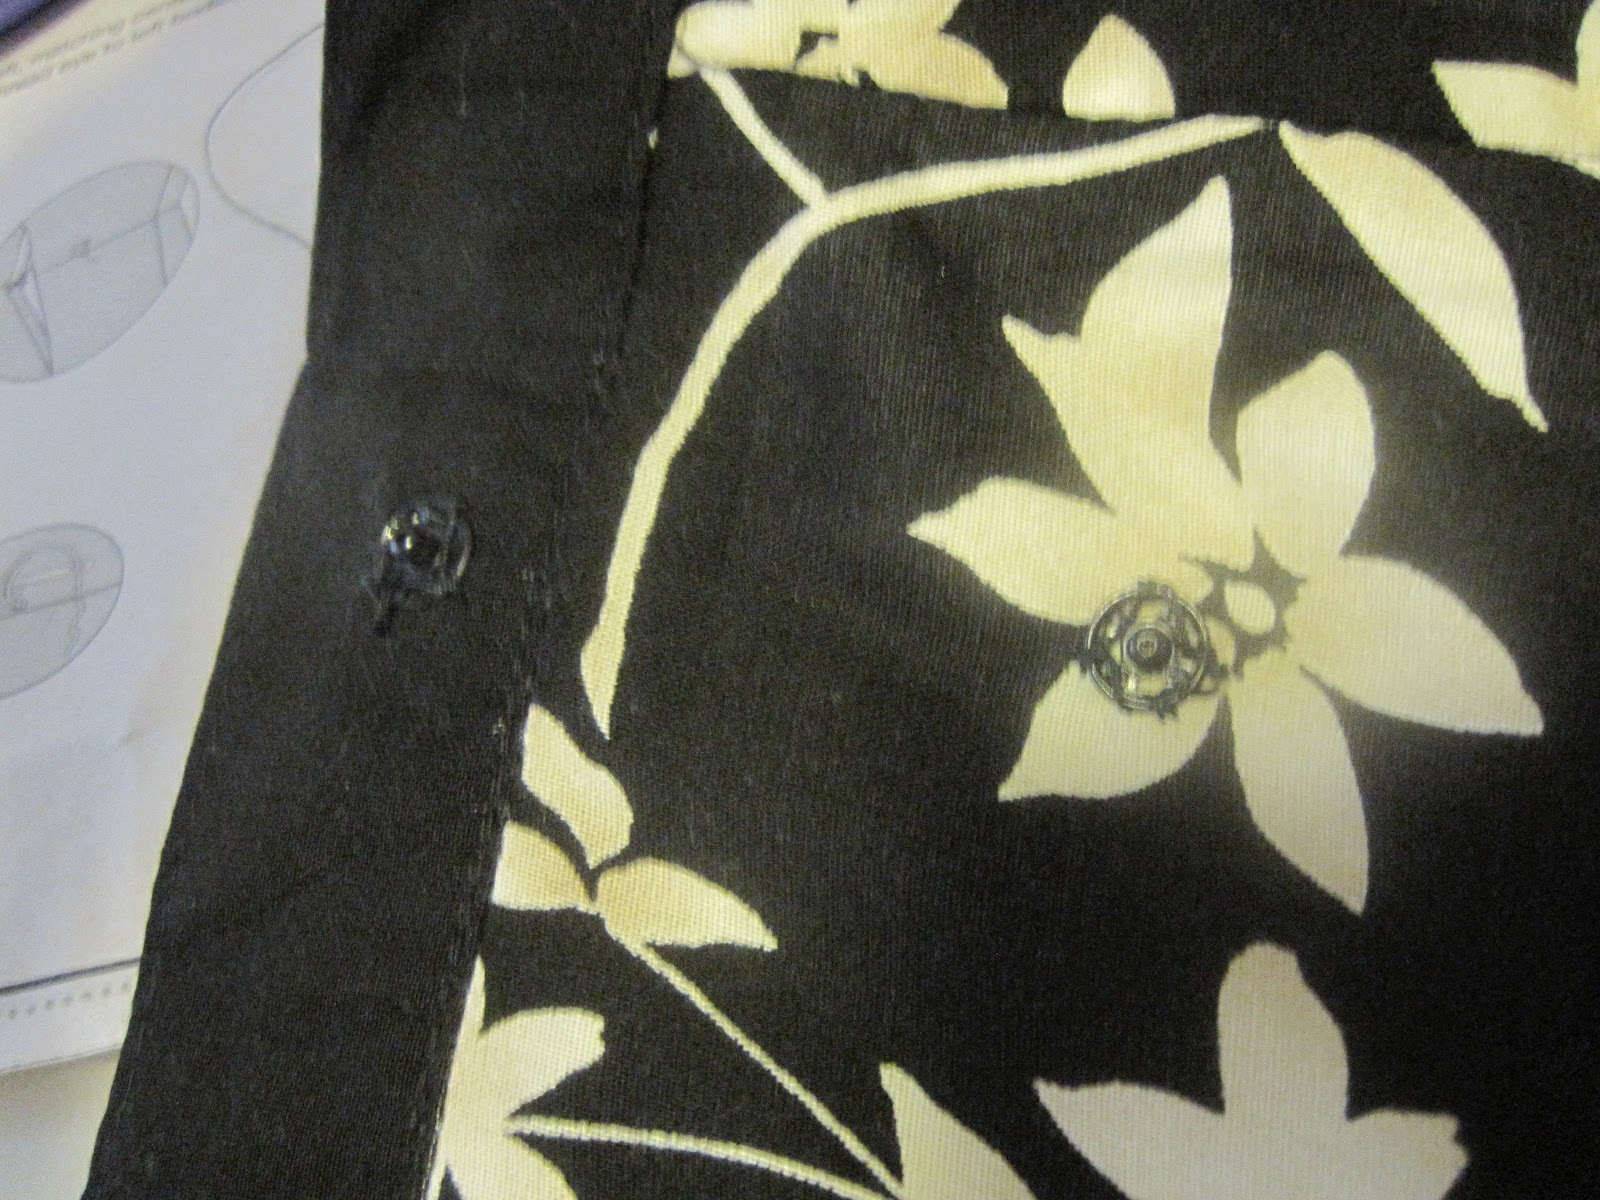
I added a button to the waistband on the left side and snaps under the first five buttons on the right to close the skirt. It took me a few tries to get the snaps lined up just right. Then I poached a little material from the facing on the left panel (the "under" panel) to repair a hole on the button placket, and I was good to go.
 

I'm really pleased with this refashion. I've been wanting to wear this skirt for so long, and now I can. I think this can be dressed up or down, and it's nice and breezy for summer, but I could easily layer underneath it in the winter. It might be a little frumpy looking, but maxi skirts are in right now, so I think that makes up for it. (I don't really care that much, either, if I like how I look.)
For the first public outing, I chose to be a bold pattern mixer. I'm not too shy about pattern mixing, but I tend to stay in the same color family. This time, I decided to let the flowers be the unifying element. I've never done anything like it but felt confident and fun all day. I don't know what people thought of it, but Jon liked it, and I felt good, so that was that.
In other news, my hair has jumped the shark. (The shark is my waist?) I almost never wear it down, and I often wear braids that shorten it significantly, so I don't think I realized how long it has gotten until I looked at these pictures. Wow! I'm not sure what I want to do with it. I keep thinking about cutting my hair very short again like I did in 2000 and 2007, but I like all the cool braided styles I can do with long hair. But on the other hand, I also like making big changes, and a short hairstyle would be a nice big change. But on the other other hand, I think long hair is lower-maintenance on me than short hair is. Most likely, inertia will win out, and I'll keep it rolling, possibly with a little trim to get rid of the split ends. I'm curious how long it will get.

Monday, May 14, 2012

Sea glass necklace

 Jon and I have been collecting sea glass for a few years now, and I've been wanting to make something fun with some of our pieces. When I saw this tutorial for small glass bottle necklaces, I thought it would be ideal. I found a few little glass bottles at a garage sale a few weeks ago, and last week I finally went to Michael's for the jewelry making supplies I needed. I used a serrated kitchen knife and an Exacto knife to cut a wine cork into the right size for the top of the bottle.
 

I'm very pleased with the final result. The cork is snug and doesn't seem in danger of falling out, and I think the glass pieces settled nicely so the colors are well-distributed and the two most special pieces (cobalt blue and light turquoise) are easy to see from the outside. The colors are very calming, and the fact that it's filled with sea glass from Lake Michigan (I should call it beach glass, since Lake Michigan isn't a sea) makes me think of both Chicago, where I found it and where I love living, and Jon, the person who found it with me and with whom I have enjoyed many hours of sea glassing. I think it will get a lot of wear.